
Map Full Walkthrough + Hints
If you are stuck, you can find hints here on how to progress:
Entering the pyramid
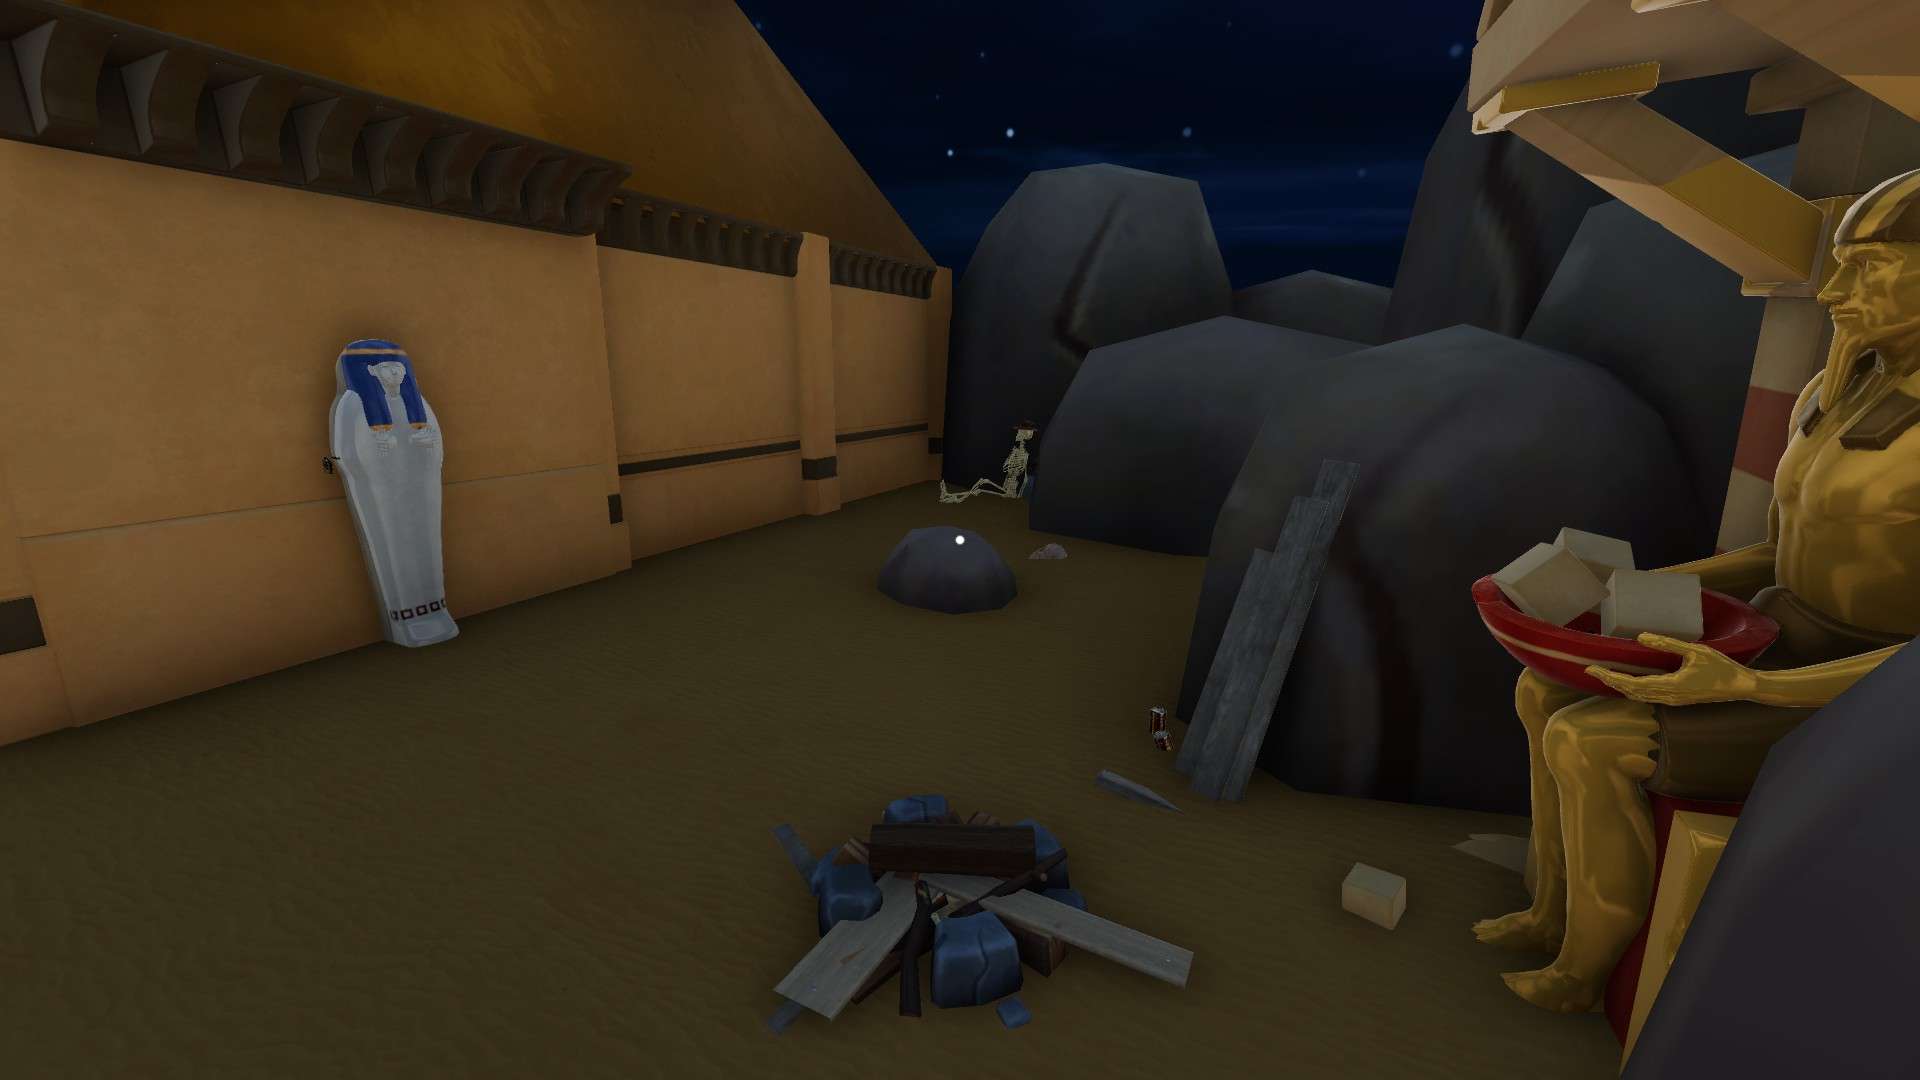
Find the tools:
Look around carefully and don’t be afraid to drag objects.
Behind the skeleton, you will find the tools required to progress. There is something hidden behind some sacks too.
Your final clue hides in the fireplace. Use the most appropriate tool for the task.
Inside the pyramid
Keys and clues are hidden all around the pyramid, if you can’t open something, try to look in other rooms for clues.
Front left room – room with the Egyptian images
Pyramid mini-game: You can find all the required items within the room. The arrow is hinting the order of the pyramids.
Turnable statues: You can find a much smaller version of the same statues within the room. Check where they are facing.
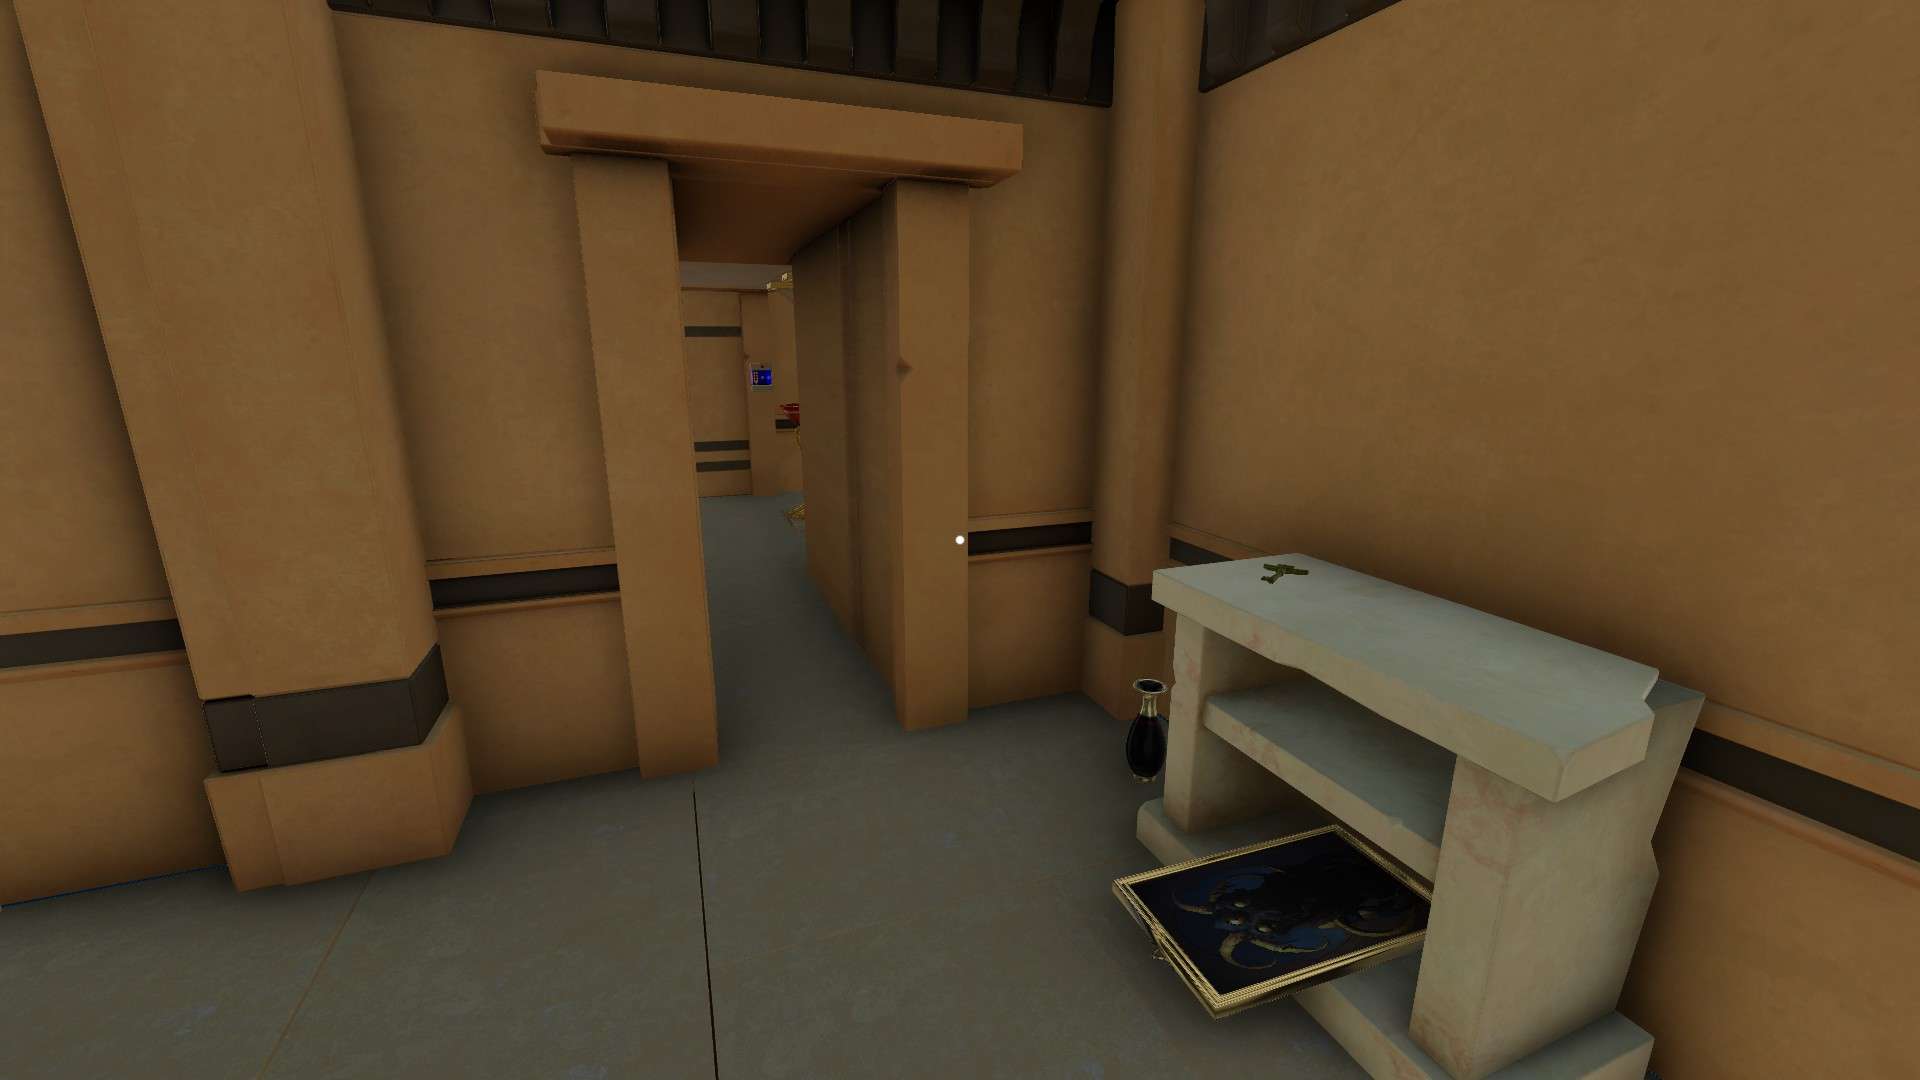
Pedestal: Something is missing from the pedestal. You should head to the back right room and complete the frame puzzle on the wall.
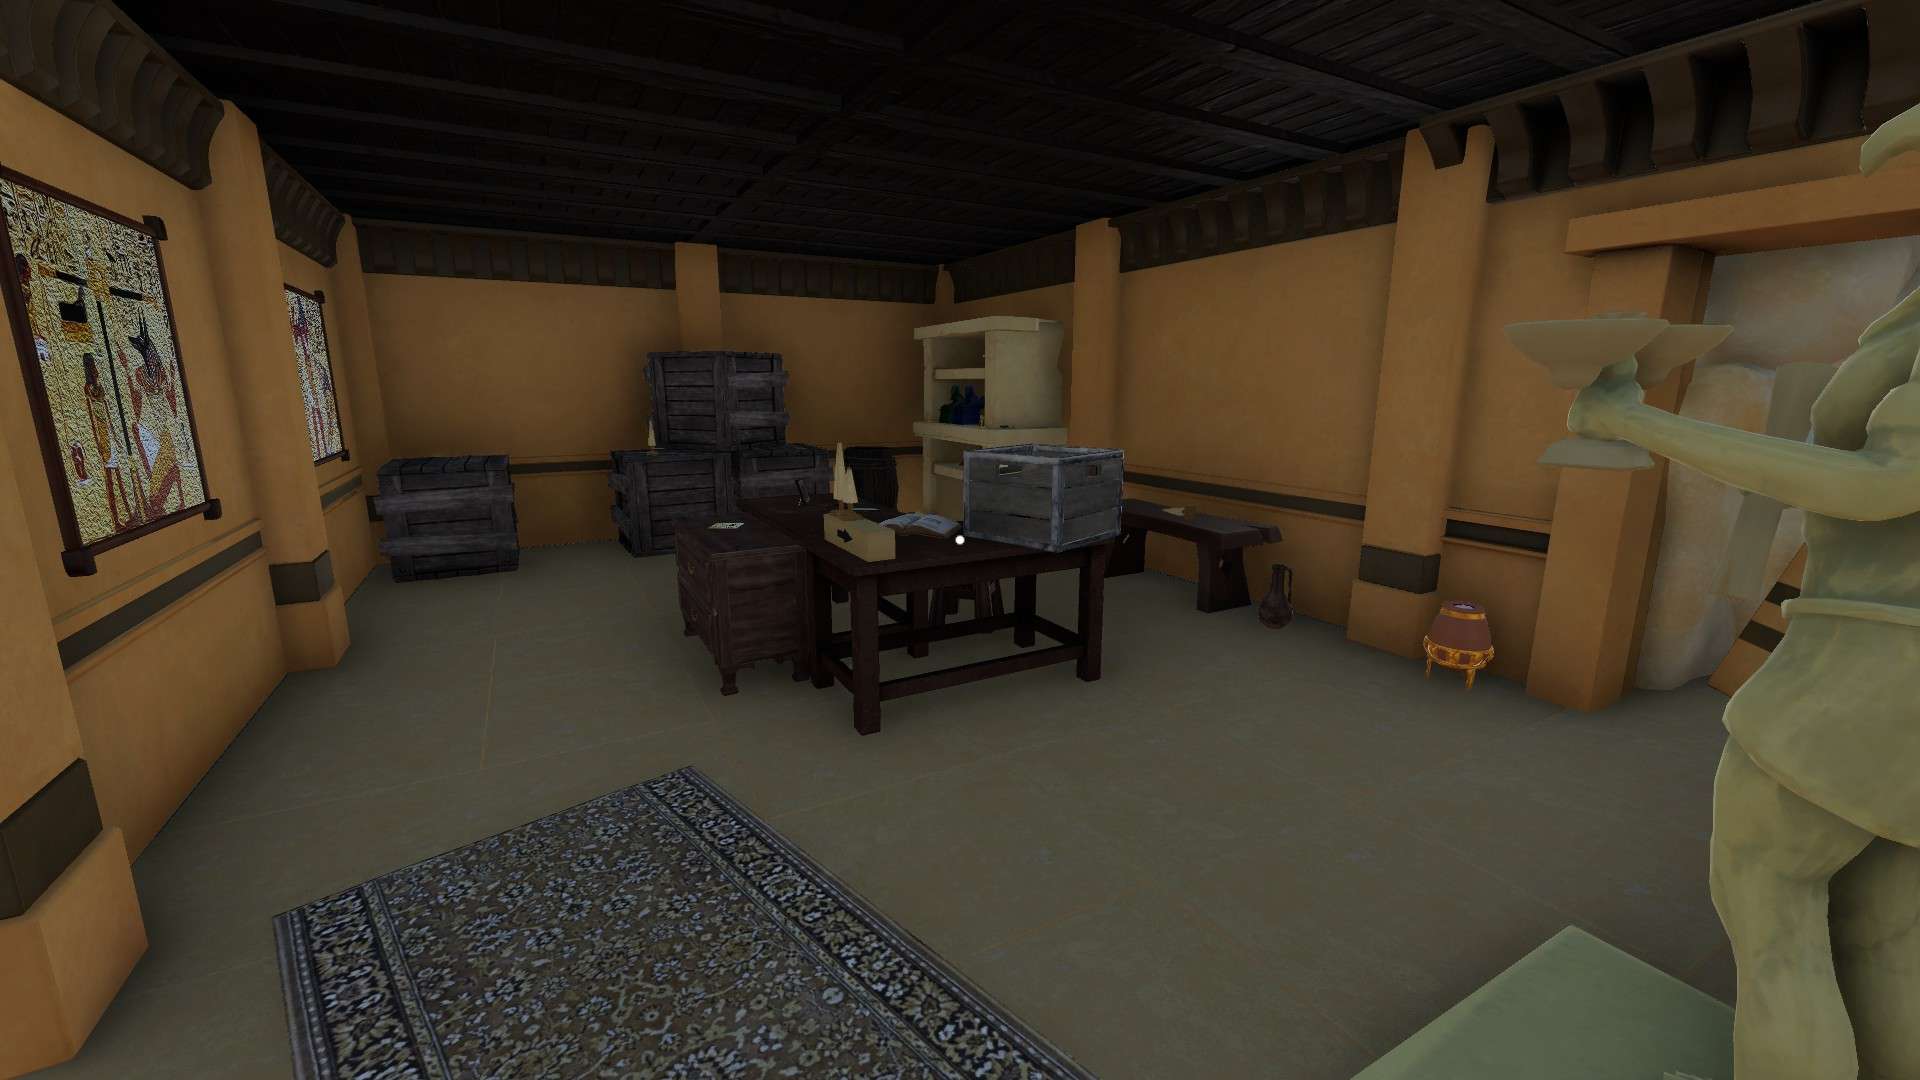
Front right room – room with the shelves and pedestal in the middle
Jawahir Family Chest: Continue your journey deeper, you will find the key around the back left room
Old suitcase: Continue your journey deeper, and look for a photograph in the back left room.
Hidden door: Look at all sides of the central pedestal carefully.
Hidden corridor
Projector room: The turnable numbers hint what colors you are looking for and in what light. Don’t forget to grab to contents of the chest on the way out
Gallery: You will need to find all three paintings to progress here. You should already have one from this room. Look around the main corridor where you’ve entered and solve the red laser puzzle to continue here.
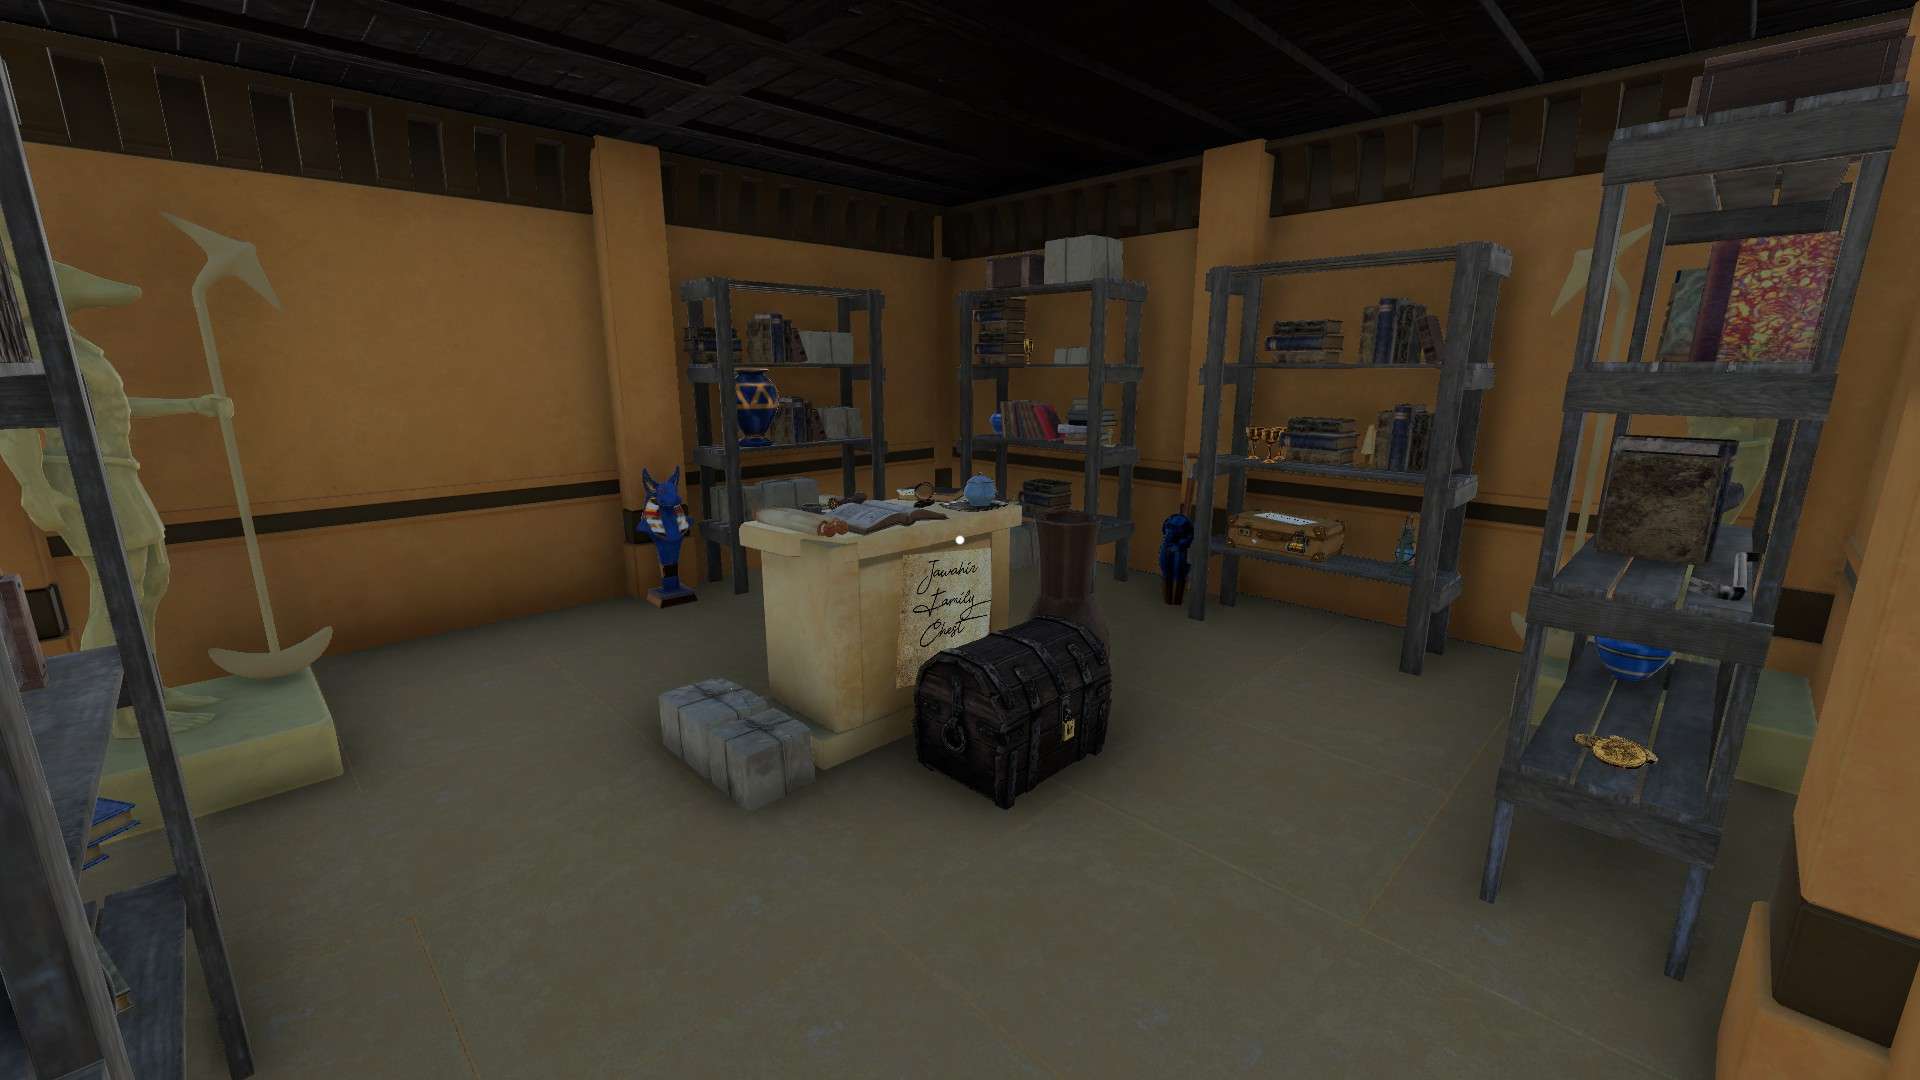
Back left room – room with the map
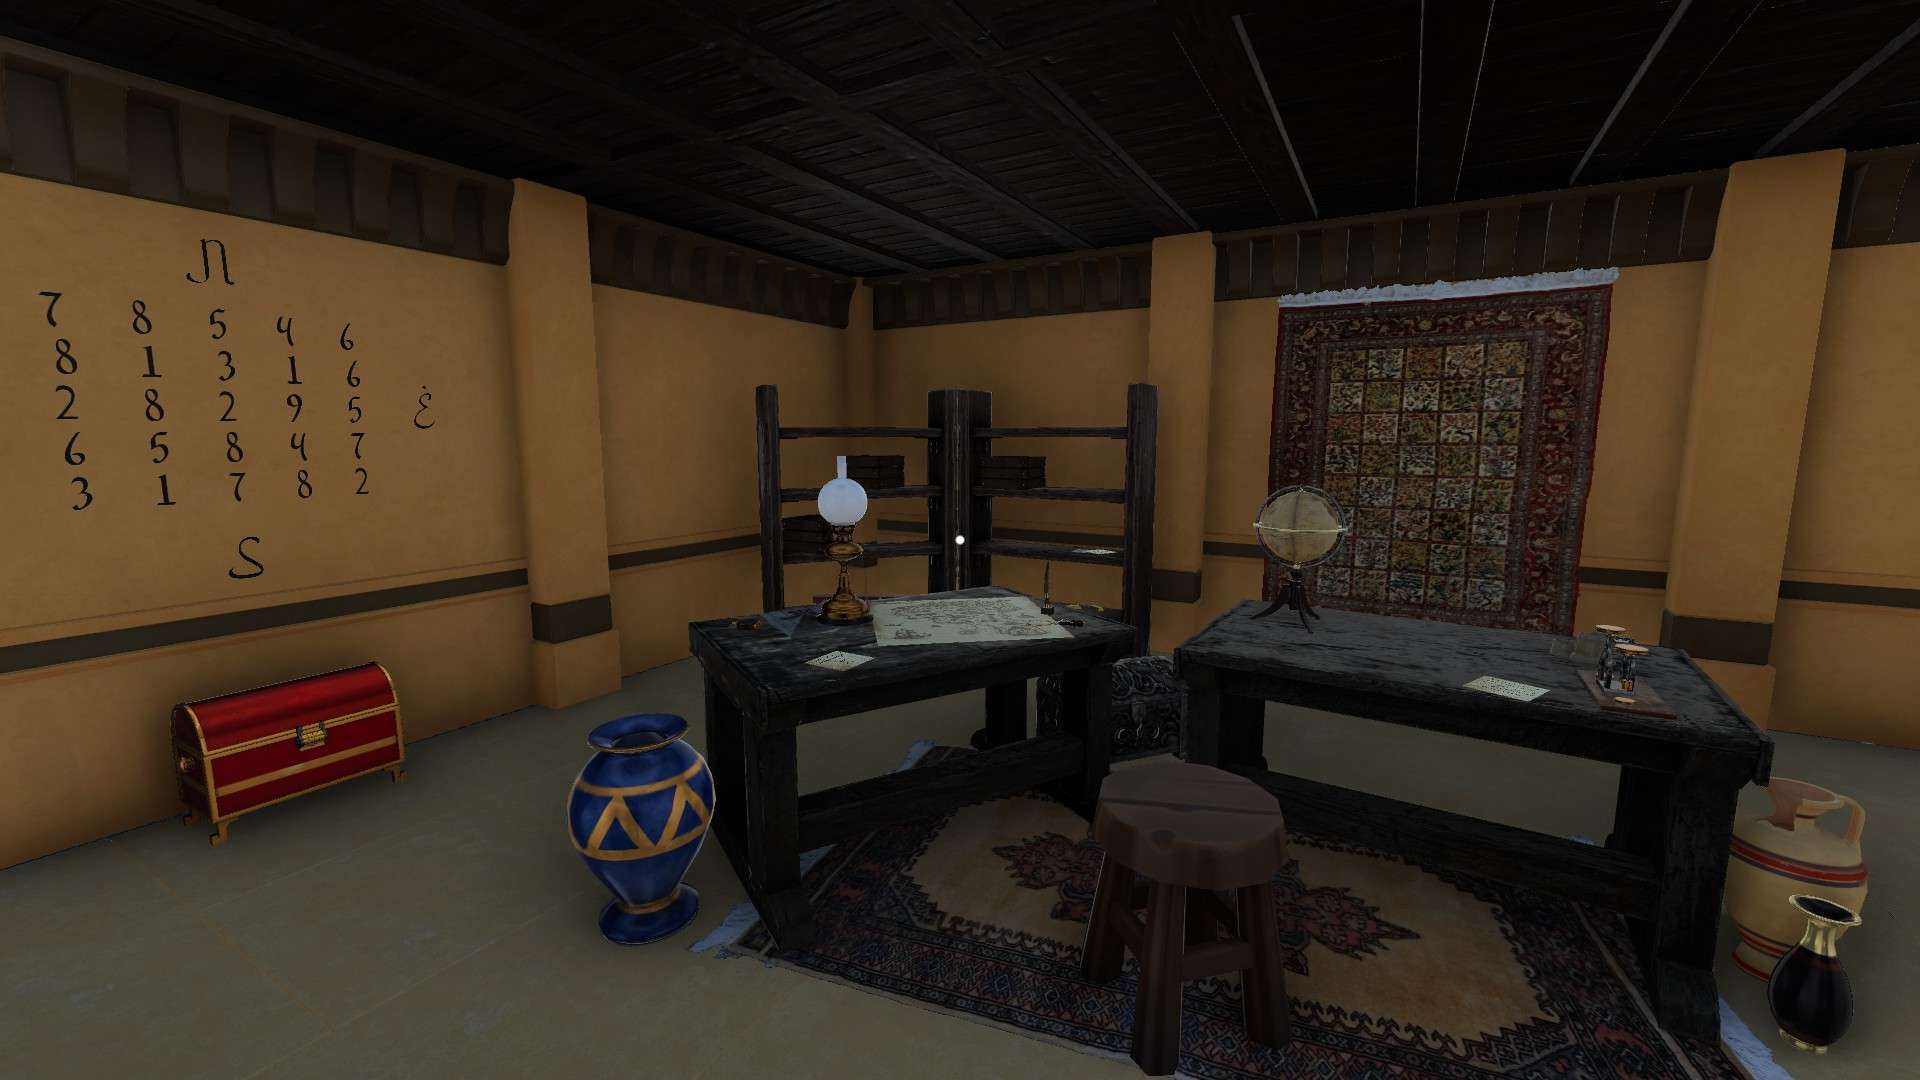
Numbers on the wall Follow the notes directions from the left table. The first point is the 8 in the south.
Tiles and shapes You will need to collect four more wooden pieces:
- You will find the first one in the back left room.
- One in the storage room
- One as you follow the red laser (starting outside of this door, but you will need to clear the rubble first)
- One in the dark room beyong the portal – collect the paintings first
Back right room – room with the many storage spaces

Storage with the keyhole: There was a key on the pedestal in the hidden corridor.
Storage with the blue mark: You will need to solve the frame puzzle to open this space – same room, to the left.
Storage with the yellow shapes: There is something hidden in the pedestal in the front right room. You will need to examine it (and click at three points), before you can use it open the storage.
Storage with the four shapes: You will find them on the walls all around the pyramid. But beware, a puzzle hides more than what you can see at first. – do the laser puzzle first
Turnable numbers: You find the same yellow tiles in the back left room. Make sure to complete that puzzle first. After you have placed all the shapes, the negative space will show you the numbers.
Jars: Listen carefully as you turn the jars.
Dark Pyramid: The lasers from the jars mark the stop.
Caved in corridor
Follow the laser: If you push the red button, you will see a red laser pointing in a direction, but you only have a limited amount of time to get there and the rubble blocks your way. You will need to clear the stones by blowing them up – you will need two items to do that.
Final door – marked by the yellow triangle
Did you complete the jars puzzle? Did you find a place for the dark pyramid? If so, you should find the key in the storage room (right back room) with the sitting skeleton.
Room with the pedestals
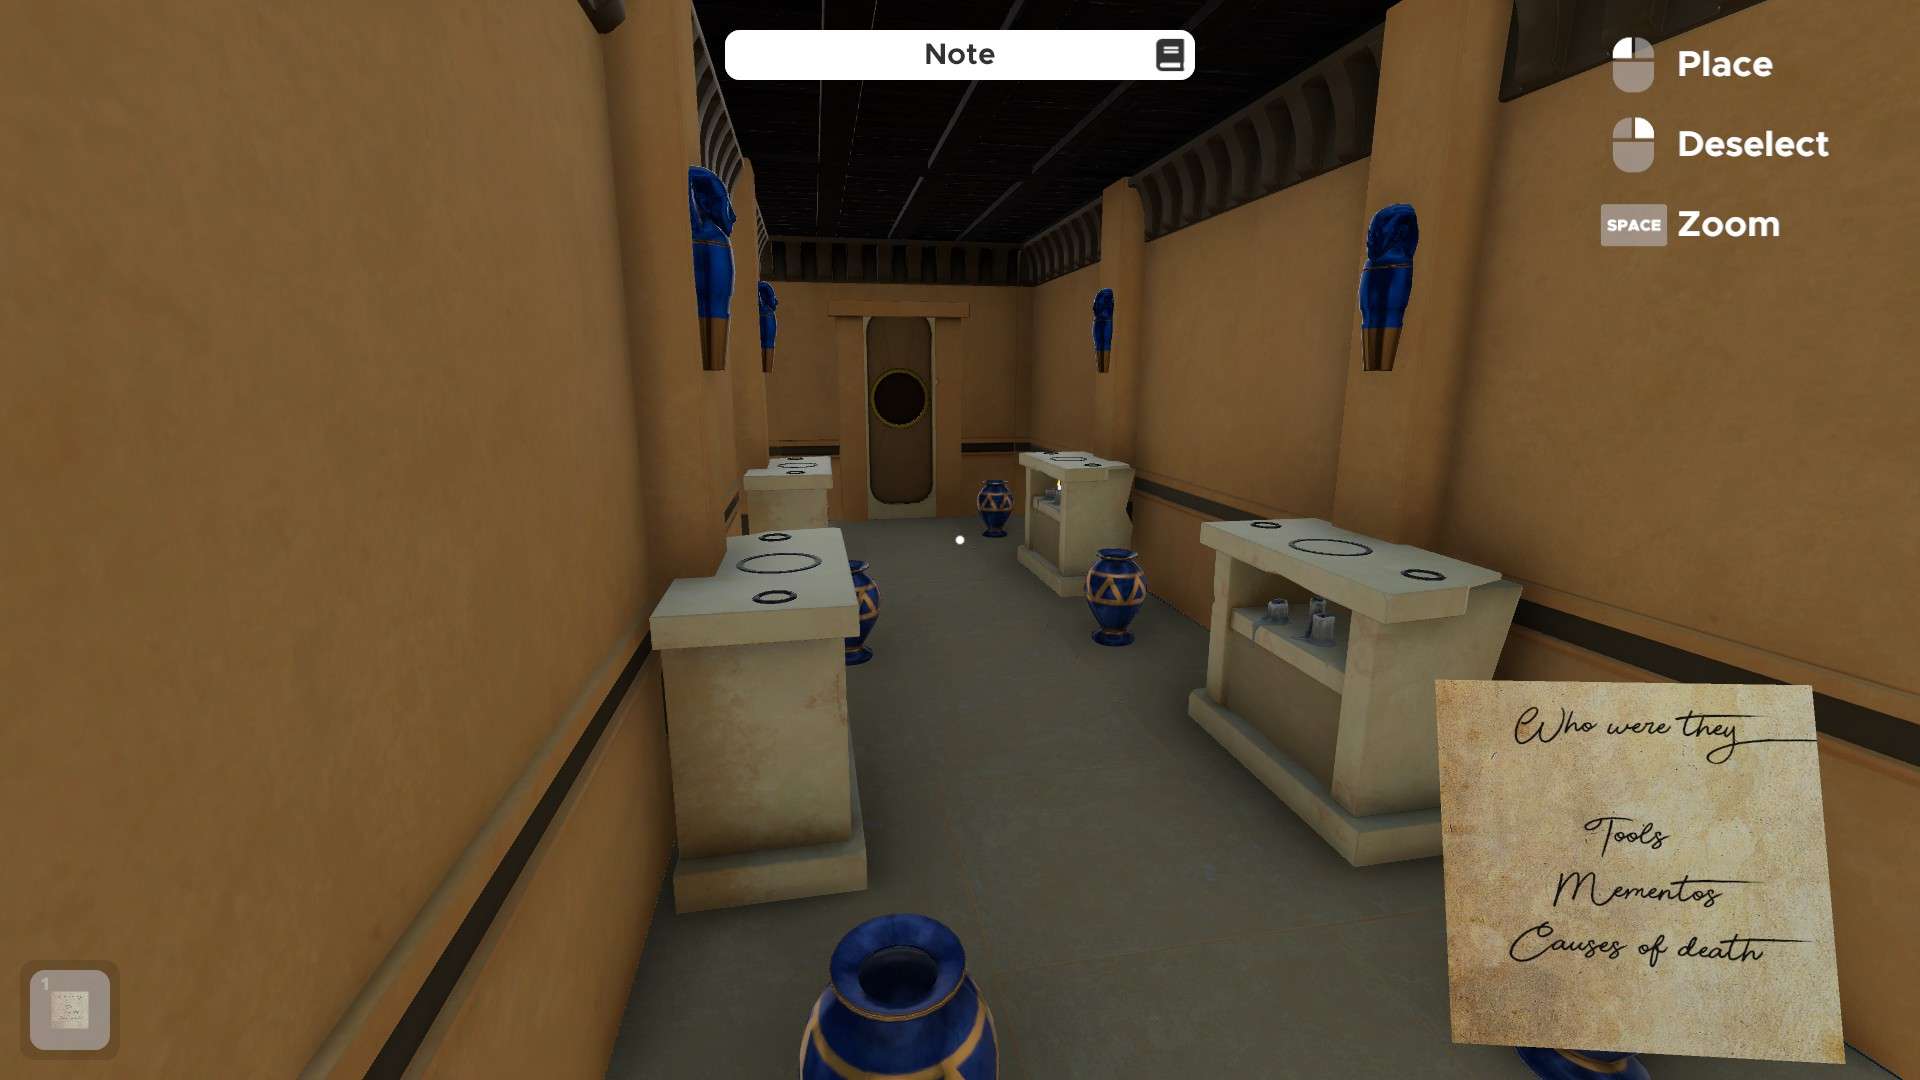
Order: Did you look at the pedestals? The candles hide the key to the order. Based on the notes, did you figure out who were who?
- Someone entered during the 1st century.
- 2 people during the 14th century.
- The last was during the 19th century.
1st pedestal
The first person was a Roman soldier, who offered himself to Anibus in exchange for his sick daughter’s life.
2nd pedestal
The second person was a bandit, who stole a jewel from this pyramid and brought misfortune to her family for it. She was armed but got caught and punished in the end.
3rd pedestal
The third person was the bandit’s brother, a merchant, who participated in her sister’s punishment. He brought an item of great value to Anubis as compensation for the theft.
4th pedestal
The fourth person was an archeologist and painter. As she looked for more and more treasures within the pyramid, she stumbled on an even more ancient force than the Egyptian gods that drove her to madness.
Items
- Toy – In the old suitcase, front right room.
- Aquilifer – In the sarcophagus, after completing the tile puzzle, back left room.
- Sacrifice – Storage with the yellow shapes, back right room.
- Bracelet – In the turnable statue puzzle chest, front left room.
- Sword – In the pedestal with the missing sphinx puzzle, front left room.
- Punishment – In the Jawahir Family chest, key near the crushed skeleton, caved in corridor.
- Offering – In the storage with the four shapes, back right room.
- Compass – On the pedestal in the front right room.
- Crushed – In the chest under the direction puzzle, back left room.
- Poems – In the drawer, opened by the pyramid puzzle, front left room.
- Paintbrush – In the chest near the projector puzzle, hidden corridor.
- Madness – In the dark room after you have hanged all the painting.
Final room
With all the stone hearts in your inventory, you have to offer the purest soul to Anubis. You can try as many times as you want, but you will be punished for a wrong choice.


Be the first to comment