
In this quick tutorial, you can find the most common and useful cheat codes (console commands) for the Quake 1 / Quake Remastered game. This information is for those who just wanna cheat, but remember to do backup of your saves. You can use cheats only in single player mode!
Note: These cheats also work in Quake Remastered (2021 Re-Release)!
How to Enable Console
Just press the ~ [Tilde] key and type the command you want from the list below.
Console Commands
- god – God mode.
- noclip – Move through walls.
- fly – Fly mode.
- impulse 9 – All weapons and items.
- impulse 11 – Get the first rune (use again to get all four runes).
- impulse -1 – Turn on quad damage.
- notarget – Enemies become blind.
- kill – Restart level.
- give weapons – All weapons.
- give ammo – Ammo for all weapons.
- give all – All items.
Gameplay
- sv_friction [num] – Friction while moving on surfaces.
- cl_forwardspeed [num] – Player movement speed.
- sv_maxspeed [num] – Maximum player movement speed.
- cl_sidespeed [num] – Player strafe movement speed.
- sv_stopspeed [num] – Player stopping speed.
- sv_gravity [num] – Gravity value.
- cl_rollangle [num] – Camera angle when strafing.
Weapons
- give 1 – Axe.
- give 2 – Shotgun.
- give 3 – Super Shotgun.
- give 4 – Nail Gun.
- give 5 – Super Nail Gun.
- give 6 – Grenade Launcher.
- give 7 – Rocket Launcher.
- give 8 – Thunderbolt.
Items
- give armor shard – Armor Shard.
- give bodyarmor – Body Armor.
- give combat armor – Combat Armor.
- give commander’s head – Commander’s Head.
- give health – Health.
- give invulnerability – Invulnerability.
- give power cube – Power Cube.
- give power shield – Power Shield.
- give blue key – Blue Key.
- give red key – Red Key.
- give security pass – Security Pass.
- give slugs – Slugs.
How to Access Any Level
Enter the map ID command, where ID is any of the following.
- start – The Introduction Level.
- e1m1 – The Slipgate Complex.
- e1m2 – Castle of the Damned.
- e1m3 – The Necropolis.
- e1m4 – The Grisly Grotto.
- e1m5 – Gloom Keep.
- e1m6 – The Door to Chthon.
- e1m7 – The House of Chthon.
- e1m8 – Ziggurat Vertigo (Hidden Level).
- e2m1 – The Installation.
- e2m2 – The Ogre Citadel.
- e2m3 – The Crypt of Decay.
- e2m4 – The Ebon Fortress.
- e2m5 – The Wizard’s Manse.
- e2m6 – The Dismal Oubliette.
- e2m7 – The Underearth (Hidden Level).
- e3m1 – Termination Central.
- e3m2 – The Vaults of Zin.
- e3m3 – The Tomb of Terror.
- e3m4 – Satan’s Dark Delight.
- e3m5 – The Wind Tunnels.
- e3m6 – Chambers of Torment.
- e3m7 – The Haunted Halls (Hidden Level).
- e4m1 – The Sewage System.
- e4m2 – The Tower of Despair.
- e4m3 – The Elder God Shrine.
- e4m4 – The Palace of Hate.
- e4m5 – Hell’s Atrium.
- e4m6 – The Pain Maze.
- e4m7 – Azure Agony.
- e4m8 – The Nameless City (Hidden Level).
- end – Shub-Niggurath’s Pit.
For example, enter map e1m5 to access the Gloom Keep.
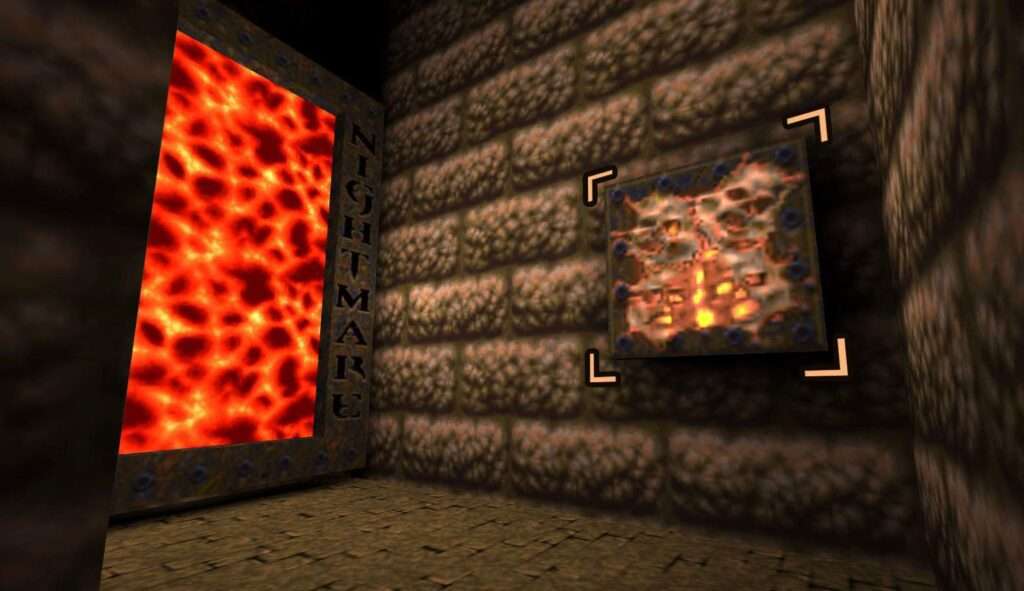
How to Activate Nightmare Difficulty
To find the Nightmare Difficulty portal head towards the entrance to Episode 4: The Elder World and jump in to the water.
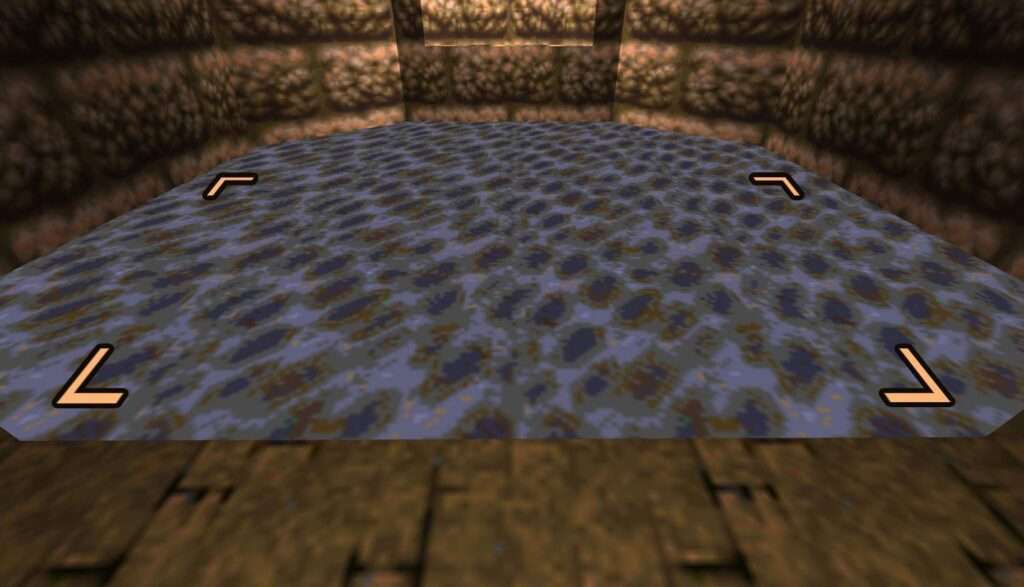
Now backup against the wall like you were going to go back the other way.
Now stay against the wall and allow yourself to fall down. You should land on a big piece of wood.
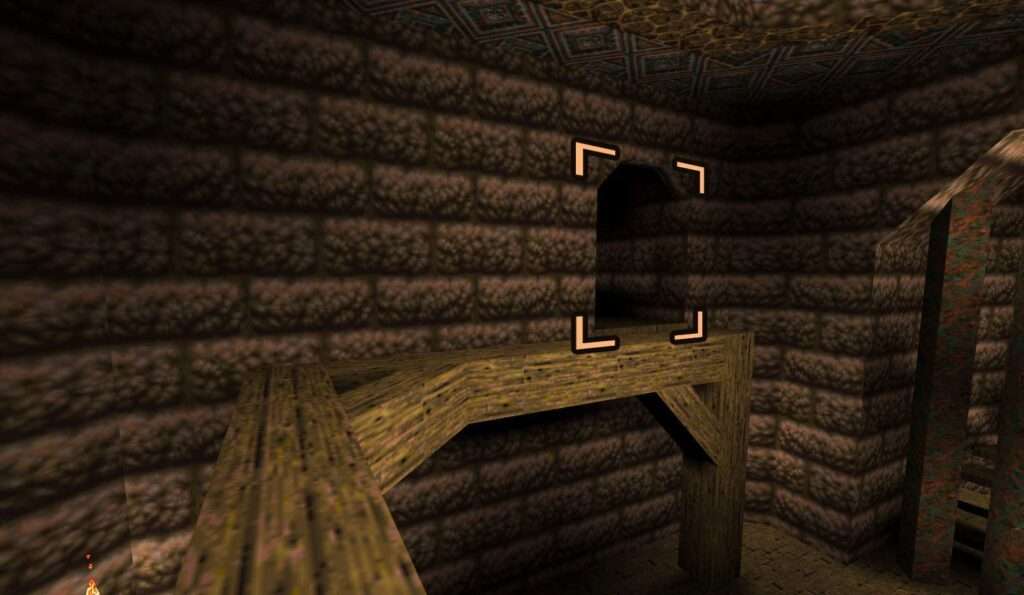
Walk along the left side to find another entrance that leads a to gate that’s takes you to Nightmare Difficulty.
Be the first to comment