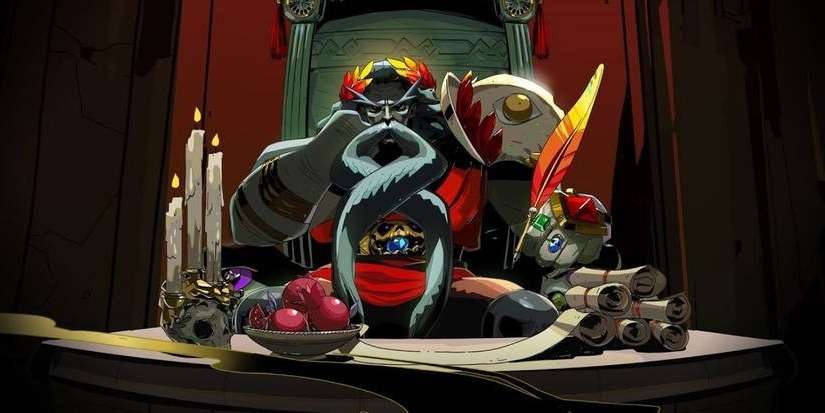
Final Boss (Hades) Tactics
Hades has three attacks for most of the fight: a thrust, the skull throw, and a spin-attack. If you have at least two dashes, you can i-frame the thrust and the skull throw easily by dashing to the side or through him when you see him start up any attack at all, and if you see while you dash that it’s a spin-attack, you can do a second dash to get out of range or ideally time the second dash to i-frame it. If you dash backwards, though, the thrust and the skull throw will hit you.

During his first life, he’ll often go invisible and do any of those three attacks immediately when he comes out of invisibility. Watch his footsteps in the snow, and evade the attacks just like before and immediately when you see him come out of invinciblity.
After he does the spin-attack, he’ll always take some time to recover before doing another action. You can go in and do some heavy damage in that time.
In addition to dashes, you can use your lesser calls to i-frame his attacks similarly. All calls give you invulnerability for a moment immediately upon activation. Greater Calls work, too, but you’ll get to use the invulnerability only 1 time instead of 4 times, so I usually avoid getting a Greater Call in the fight.
On his second life, he gains two swings always followed by a spin-attack, and three dashes always followed by a spin-attack. Be ready to dash for those spin-attacks (ideally you dash behind him when does the double swing already, then his spin-attack will just go nowhere).
He also gets triple-beams and omni-beams. For the triple-beam, just get behind him and do some damage. For the omni-beams, you can get behind one of the two rocks/pillars that don’t get destroyed, you can stand right on top of him and hack away at him (he won’t hit you there), or you can keep your distance and run along between the beams.
For the green urn summons, his spin-attack after the three dashes will always break them (he takes damage from them too!), so watch out for that. If you have 2 dashes or more, you can dash-strike one with a melee to break and safely dash out again. If you have ranged attacks, you can just use that. Either move to an area that’s very free of green urns when he summons them to give you space to maneuver or break 1-2 to create some space for yourself.
Apply Boiling Blood or Abyssal Blood (whichever you use!) throughout the fight.
Also, take the Evergreen Acorn keepsake when you enter the Temple of Styx. It will block the first five hits you take in the fight when maxed out.
Another good keepsake is the Bone Hourglass if you have a lot of obols to stack items from the Well of Charon for the fight.
For the triple-beam, just get behind him and do some damage. For the omni-beams, you can get behind one of the two rocks/pillars that don’t get destroyed, you can stand right on top of him and hack away at him (he won’t hit you there), or you can keep your distance and run along between the beams.
What I do most of the time is get on top of him and hack away.
If you’re late, you can use a call for i-frames and use that time to get on top of him.
Sometimes there’ll be green urns and skulls in bad places, and you’ll be taking big damage no matter what you do except you can sometimes try to i-frame at just the right moment to evade multiple of the attacks at once.
But that’s not always possible.
So the best you can do is to kill skulls asap to not be put in that situation, take out green urns in key positions asap to avoid that situation, or… just take the hit that deals the least damage (normally the skull shockwave!).
I also try to kite him immediately into the area that is free from green urns. There’s always some area on the map that gives you a lot of space to freely maneuver enough to i-frame stuff without having to deal with the green urn traps.
And if he does spin attack after the triple dash, he will always destroy any urns in the AOE (I think for the normal spin that doesn’t happen? not sure!).
So I try to kite him into breaking multiple urns when he does that!
He will even take damage from the urn traps himself.
It’s hard to isolate just one attack from him, because his beams, spins, and urns all interact in that phase.
Gotta focus on the big picture.

If you only look at beams and think “get on top of him for beams” or “get behind pillars for beams”, then you’ll be in trouble when there’s a trap there or when there are skulls around that are about to go off.
You can also get behind a pillar if there is a trap and i-frame the trap with a call. But I would not rely on that unless I just really screwed up and have no other option.
Then it’s more like a Hail Mary call and hope you timed it right lol.
I actually like to always use my 1 Lesser call for i-frames unless I know I can zerg him down now. But even then, I’ll often play it safe.
Overconfidence easily leads a DD loss (or SD, which hurts even more!).
With Second Wind and Smoldering Air, I use the call as much as possible.
Most important thing in the fight, when Hades is not invisible, always keep an eye on him unless you have some distance.
He has a very obvious tell where he’s like flourishing his bident kind of when he does [the beams], anyway. You’ll also hear an obvious sound that goes up in pitch when he’s about to do the beams.


Be the first to comment