
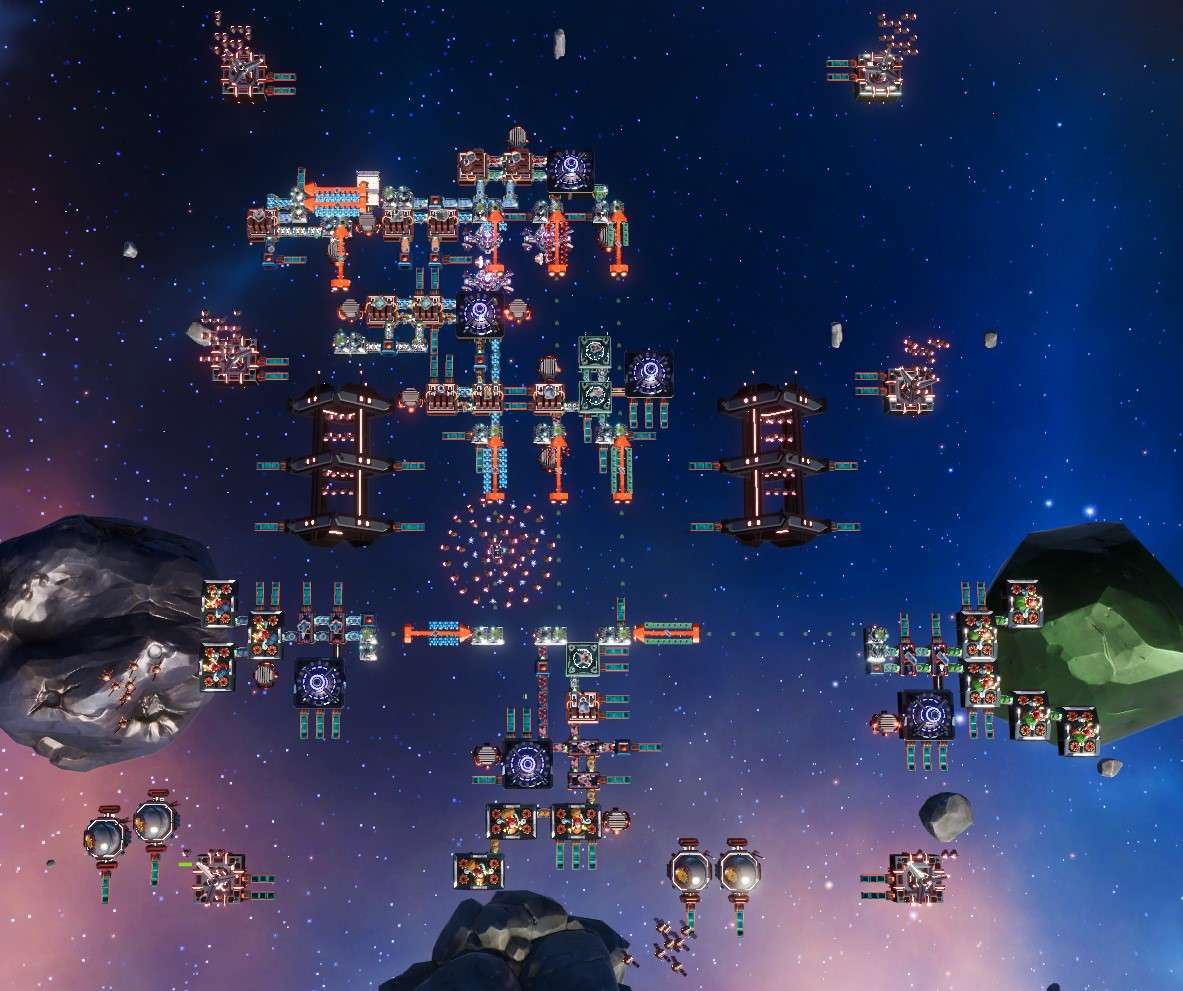
Welcome to Ultimate Final Factory Beginners Guide, perfect place for new players to grasp the essential mechanics and strategies needed to kickstart your factory and ensure its survival and efficiency and learn useful tips along the way.
Contents
Mastering Controls
Controls are straightforward but crucial for efficient gameplay. Lets cover the main hotkey and control combination that will help to do things faster in Final Factory.
- Left Click produces a single item.
- Right Click is for bulk crafting, producing five items at a time. This is particularly useful when you need to ramp up production quickly.
- Quick Bar Management: Dragging items to your quick bar for easy access is a game-changer. Use control-clicking to auto-construct items in the quick bar if you have the necessary resources.
- Inventory Management: Efficiently manage your inventory by using control-click to move a stack of items, making crafting more streamlined.
- Pulling From Structures: Ctrl-Clicking the structures will pull a stack of resources from its storage without opening its inventory.
- Copying Structure Properties/settings: Shift+right click a structure to copy its properties (production, filters, etc), and shift+left click another structure to paste those properties. This can make it much faster to set properties on structures.
Planning the Base Factory Layout
To ensure your factory runs like a well-oiled machine from the start make sure to properly plan your factory, so there will be no need to rebuild it later.
Cargo Holds: Prioritize setting up Cargo Holds for basic items like structure elements and AI Controller Circuit. This drastically speeds up crafting by directly using ores and components in your inventory.
Understanding and optimizing your production lines are keys to scaling your factory.
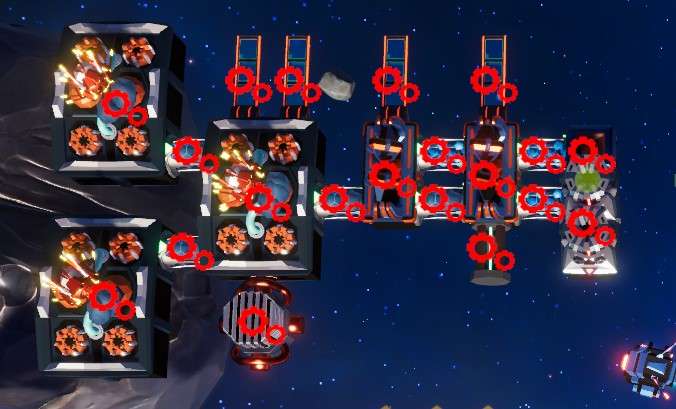
Production Rates: Pay close attention to the production rates of components. For example, Plasma Engine Parts and Low Density Structures from the Atomic Printer have specific rates that, if balanced correctly, can significantly enhance efficiency. Early game its better to build 2 Atomic Printers to feed Assembler creating Plasma Engine Parts so it will work at a full capacity.
Mining Drones Setup: Calculate the needed number of Mining Stations to fully saturate a Connector belt, considering their production rate and the conveyor’s capacity. Considering that Connector moves 4.5 items/s and Mining Station produces ~1-1.5 ore/sec 3 Mining Stations will pretty much saturate 1 Connector belt.
Defense Layout: Enemy attacks are influenced by your factory’s global stability. Higher stability attracts tougher, more frequent attacks.
It might not feel important early on, but proper defense planning is essential in factory’s long term survival.
Keep your factory modular. This not only helps in managing stability but also ensures that expansions don’t compromise the factory’s defenses.
Structure Mechanics
Final Factory have Structure Mechanics that is unique to factory games, lets cover it in this guide.
Each Structure placed have its own structure value. When Structures connect their structure values are being added to the grid structure. At some point ~ 45 Structure points station will go over structure limit and will stop functioning. It can be fixed in a various ways:
- Adding Strut between buildings might lower overall structure a bit
- Optimizing Station layout excluding unnecessary structures, shortening Connector belts
- Replacing with higher efficiency structures, for example replacing Solar Panels with Antimatter Power Station
- Adding Station Core or upgrading to the higher tier Core.
When station is connected to a Station Core its possible to see Current Station Grid Stability value. Stations that have a basic Station Core cannot exceed 115 Station Stability.
That leads to the fact that factory should have a modular structure, where each Station Grid will be focused on its own task, being connected to other Station Grids via Space Logistics network.
Power Management and Heat Dissipation
Adequate power supply and managing heat are vital for uninterrupted production. Without sufficient amount of power structures will work slower or stop completely. Overheating will cause structures to take damage and break.
Energy Consumption and Production
Most of the Structures Consume and produce power.

There are two types of power consumption in Final Factory:
- Idle Power consumption that is active all the time as long as the structure is connected to a station grid
- Max Power is consumed when structure is active, for example producing something.
Its a good idea to start with the Solar Panels at the start. As you progress the Research tree you will unlock better sources of energy that will provide more power per structure point.
Heat Management
Heat is being generated by Production structures like Atomic Printer or Assembler when they work and by various other buildings like Antimatter Power Station later in the game.
Each building have Max Temp that it can reach before it will start taking damage from overheating.
Using Heat Exchanger will allow to cool down the connected grid even without Radiator connected to it. Although in order to deal with higher amounts of heat players would like to place several Heat Exchangers and/or connect Radiators to them.
Logistics and Scalability
Efficient logistics are the backbone of your factory’s expansion and modularity in Final Factory. We will cover best practices to optimize it in this Beginners Guide.
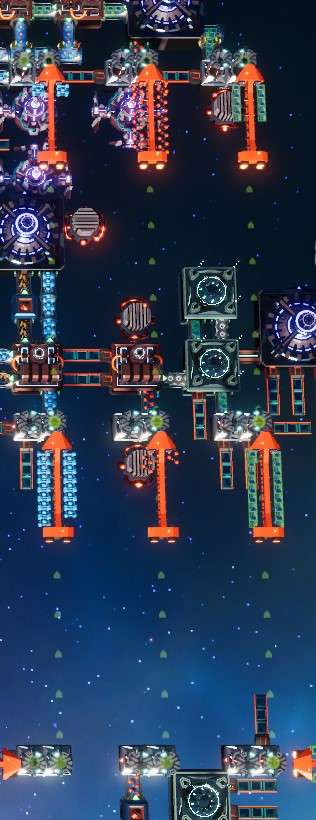
Core logistics component is Connector. Its a belt system that connects Structures inside of Station grid and transfers heat and energy. While its really convenient to belt everything together Station Structure mechanics wont allow to have huge stations. Resources will have to be transported between Stations using logistics system.
Early on its possible to use Inserter Bot to transport resources between stations from one inventory to another, although its not very effective since it have low Carry Capacity.
Logistics Bay is a core structure for the logistics. Its a drop off/pick up point for Cargo Drones and can store 2 stacks of items. Consider it as a transition spot between station Connector belts and Space logistics network.
Its totally OK to randomly place stations and connect them with intersecting Cargo Drones paths, but long-term it will lead to congestion and scaling issues.
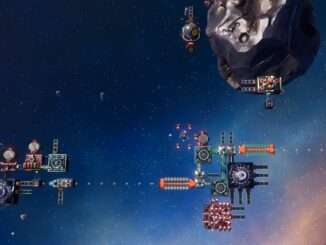
Better option is make a production line in a form of a line.
Build 3 Logistics Bay and supply them with basic Components Low Density Structure, Medium Density Structure and AI Controller Circuit that should be produced at the asteroid mining areas.
Then start building your factory buildings in sections moving forward in a line, keeping those core components supply as a backbone of your Factory, placing extra Logistics Bay as needed.
This will feel more complex at start, but will be easier to scale later. Moreover its possible to inject additional resources along the backbone production line if they are needed or main component supply insnt enough at that point.
Implement Cargo Hold for each final resource output, which will allow player to pick up the required Structure/component to do manual crafting faster.
Planning the Factory Defense
As your factory grows, so will the threats it faces. Higher Global Structure will attract more powerful foes and cause attacks to happen more often.
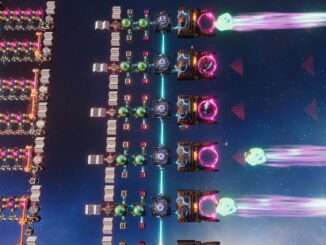
Early on covering the factory perimeter with overlapping Defense Platforms fitted with Bats will be enough.
But its essential to invest in Laser Turret Research early and prepare the basic defense platform blueprint for securing the factory perimeter from tougher enemies.
For the sake of this Ultimate Final Factory Beginners Guide we will create a blueprint of Defense Platform with 8 Laser Turret in it.
Designing the Blueprints
Blueprints will allow player to scale factory faster and it can be useful to have blueprints of most common stations that players build.
Since we will need multiple Defense Platforms we will make a blueprint that we can place multiple times.
Core Idea of Defense platform that it should have enough firepower to take out enemy waves without suffering serious damage and losing any of its parts. Also it should be supplied automatically without player’s help.
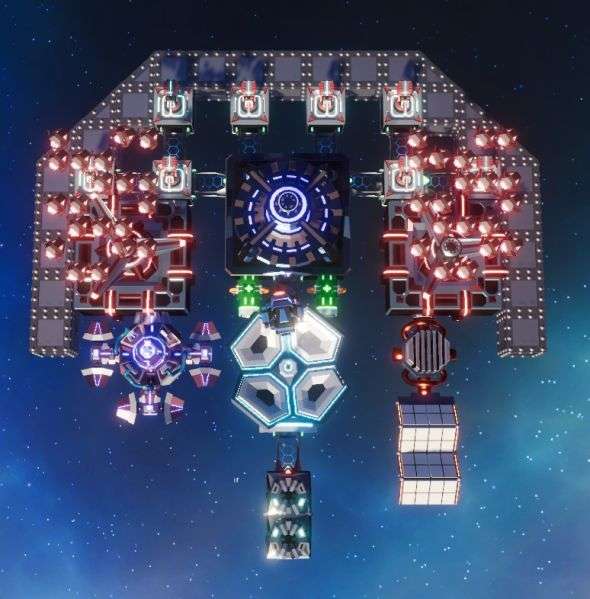
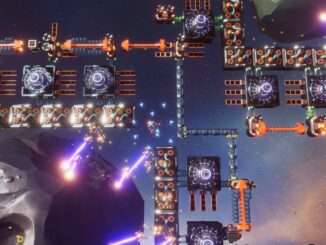
Start by placing Station Core, place 8 Laser Turrets around one side of it with 1 tile spacing, which we will use for Connector to supply them with fuel. It might be a good idea to add an Exploration Center to disperse the fog and 1-2 Defense Platforms to add Combat Ships to the mix.
This is the core structure of the Defense platform, now we need to add the Logistics Bay to supply it with fuel for Laser Turrets and then add Power and Heat structures. Its better to use Antimatter Power Station since it costs less structure per power and can easily support this type of station. Add couple of Repair Center to make sure station will repair itself after enemy waves.
Now when everything is in place lets add some Armor Blocks on the outer perimeter to protect the structures from enemy damage.
When you are happy with the results adjust Defense Platforms Attack Range and Alert Range.
- Attack Range is the radius at which combat ships from the Platform will fly to fight the enemies. Adjust it so it will be lower than Laser Turrets range, so the ships wont fly away to suicide on enemy waves.
- Alert Range is the range at which they will alert other defense platforms to help defend an attack. We will set it about 50-100 meters outside of out armor edges.
We managed to create a great Defense Station. Now select Copy Operation (Ctrl+C) and select the newly created Station. There will be an option to Save new blueprint. Use that, give it a nice name and save it.
Now you can open blueprints and select the Station blueprint we created and place it all around when you need it. It can be rotated with R button.
Since Laser Turrets require fuel and anything you produce costs ore, I’d suggest rushing to Comet Catcher next and use those for steady infinite Ice supply to evenly distribute to all your Defense platforms. This way there will be no need to spend finite resources for fuel.
Research Progression
Continuously invest in Research to unlock advanced defense technologies. Prioritize upgrades that enhance your base’s defenses.
Early game you will have only Asteroid Research available, but as you get new tech and grow the factory you will have to expand to Planetary Research and beyond. This essentially will force you to explore the map, clear enemy bases and expand your base and build outposts.
Exploration
Exploration is essential for long-term survival in Final Factory.
The basic asteroids that player have at its starting point have limited amount of ore in it, which will eventually exhaust.
Moreover early on player will need to get some Ice from the Asteroid Shards that are randomly placed on the map.
There are other elements to the exploration, but the core ones are getting extra Asteroids and building expansions there before asteroids on the main base will be exhausted. The further asteroids away from the main base – more resources they will have.
Adapt and Experiment
Final Factory is a complex game that rewards strategic planning, adaptability, and continuous learning.
Don’t be afraid to try new layouts, production strategies, and defense mechanisms. Learning from mistakes is part of the game.
Beginners Video Guide
This Guide is based on the following video, take a look to get better understanding.
Be the first to comment